Too many DIYers and even contractors slather on natural wood preservatives like there’s no tomorrow—only to watch their decks gray, crack, or rot within 18 months. The problem? They ignore one brutal truth: coverage isn’t just about square footage. It’s about absorption, grain density, and climate. Here’s how to nail solvable wood preservative coverage the first time—without wasting product or compromising protection.
Why Standard “Square Foot Per Gallon” Rules Fail Miserably
Manufacturer labels boast “covers up to 300 sq ft per gallon.” Great—if your wood is kiln-dried pine in Arizona. But what if you’re working with rough-sawn cedar in Seattle? Or reclaimed oak with open pores? Those guidelines collapse faster than untreated spruce in a rainstorm.
Wood isn’t a uniform canvas. It breathes. It swells. It rejects—or gulps—finish based on species, age, and exposure history. Apply too thin? UV rays feast. Apply too thick? Sticky residue traps dust and invites mold. And most “eco-friendly” preservatives? They’re water-based—which means they penetrate differently than oil-heavy legacy formulas.
Solvable Wood Preservative Coverage: A Practical Step-by-Step Guide
Forget guesswork. Follow this sequence:
Assess Your Substrate First
Run a sprinkle test. Drop water on bare wood. If it beads up, your surface is sealed or contaminated—clean it with vinegar or oxalic acid first. If it soaks in instantly, expect high absorption. That changes everything.
Calculate Real-World Yield
Start with the label’s max coverage. Then slash it by 25–40% for outdoor projects. Humidity, temperature swings, and porous end-grain eat product faster than you think.
Apply in Two Light Coats
One heavy coat = poor adhesion. Two thin ones = deep penetration + surface film. Wait 4–6 hours between coats. Use a synthetic brush—natural bristles shed fibers into water-based formulas.
| Wood Type & Condition | Estimated Solvable Wood Preservative Coverage (sq ft/gal) | Recommended Coats | Drying Time Between Coats |
|---|---|---|---|
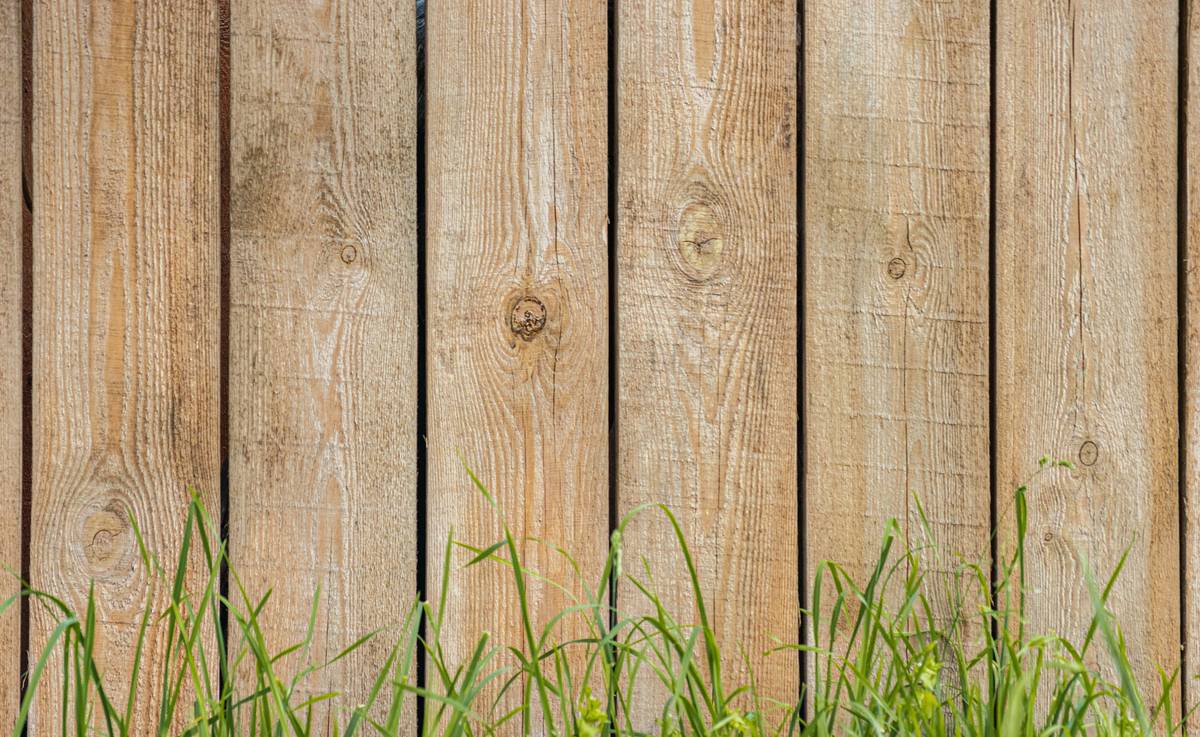
| New smooth pine (kiln-dried) | 280–320 | 1–2 | 4 hrs |
| Rough-sawn cedar (outdoor) | 180–220 | 2 | 6 hrs |
| Weathered redwood (reclaimed) | 140–180 | 2–3 | 6–8 hrs |
| Decking with end-grain exposure | 120–160 | 2 (plus end-grain sealing) | 6 hrs |
The Industry Secret: Preservative “Overkill” Backfires
Here’s what distributors won’t tell you: saturating wood beyond its absorption point doesn’t increase longevity—it accelerates failure. Excess preservative sits on the surface as a gummy film. Rain washes it off unevenly. Sunlight breaks it down into chalky residue. Meanwhile, the undersaturated areas underneath rot quietly.
I’ve seen contractors pour $200 bottles of “premium” plant-based sealers onto pressure-treated lumber like it’s holy water—only to return a year later for emergency sanding. The fix? Less product, smarter application. Focus on uniform saturation—not glossy finishes. And never skip the end-grain. That’s where 70% of moisture intrusion starts.
Frequently Asked Questions
What affects solvable wood preservative coverage the most?
Wood porosity, humidity during application, and whether the surface is new, weathered, or previously treated. Rough or aged wood absorbs far more.
Can I stretch coverage by thinning the preservative?
No. Diluting compromises active ingredients—especially in borate or linseed-based formulas. You’ll get patchy protection and invite fungal growth.
How do I know if I’ve applied enough?
After 30 minutes, the wood should look uniformly damp—not shiny or dry-spotted. Run your hand over it next day; it should feel dry, not tacky.